
How To: Clean Brushes
Makeup brushes are an investment, so it’s important for us to take good care of them in order to make them last for years and years. On another note, most of the times we overlook how essential it is to keep our brushes clean and sanitized. The usage of dirty makeup brushes is the malefactors for transferring bacteria onto our skin. Not cleaning makeup brushes on a regular basis will cause clogged pores and breakouts. Now I know cleaning makeup brushes is not one of the most glamorous tasks, but at least it keeps them germ free and it will also condition those expensive brushes at its best way. Knowing how to properly clean your makeup brushes is the key to help extend the longevity of your investment, so lets start now and make cleaning those brushes be a part of our regular beauty routine, shall we?!
Cleaning makeup brushes can be done quick and easy provided that you clean your brushes on a daily basis. It’s recommended to spot clean your brushes after you’ve used it to keep them somewhat sanitized (I like M.A.C.’s Brush Cleanser) and once a week if not more for a deep cleaning. There are plenty of ways to deep clean your brushes but for years I’ve stuck to one method that works best for me and most importantly it only takes a few minutes to get them all clean!
You’ll need:
- Antibacterial Dettol wash
- Paper towel
First, wet the bristles of the brush thoroughly and then pump a dime size Dettol on the palm of your hand. Now slowly twirl the bristles into the Dettol wash until it gets foamy and you’ll see how all the makeup products loosens up. Wash off the bristles with lukewarm water and continue this whole process until the water is nice and clear.

So what I’ve also been using lately is this handy-dandy makeup brush cleaner. It basically works the same but instead of using the palm of your hand you use this makeup brush cleaner. This little beauty hack works surprisingly very well.

There are two different cleaning textures on this brush cleaner; the long and small ridges are meant to clean large brushes and the part with small dots texture are made for smaller brushes. The cleaning textures on this “egg” really take every bit of makeup out of the brushes even better and faster!

One tip: make sure to hold the brush upside down whenever you’re cleaning it with water, ‘cause you don’t want to get water inside the metal part of the wand. That’s the part where all the bristles are glued together, once it gets wet there’s a big chance that the glue becomes loose and bristles come off, which eventually ruins the whole makeup brush.
Now when you’re done with cleaning all the makeup brushes just take a paper towel and wrap this around the bristles and gently squeeze out all the residual water. I like to use The Brush Guard tool to dry my brushes. The Brush Guard is simply a stretchable, breathable tube that easily slides over the brush handle onto the bristles. So what you want to do is to slip the brush guard over the brush handle until it extends 1 cm beyond the bristles and then let it air dry for a day or two.

This Brush Guard tool really does a great job on protecting the bristles of the brush, when it’s completely dry, the brushes will look brand new again. And once again, make sure you keep the brushes upside down. What I like to do is to lean the brushes against the window or wall until it’s completely dry.

If you don’t feel like using The Brush Guard tool, then there’s another option to dry out your makeup brushes. Just take a cutting board and wrap some rubber bands horizontally around the cutting board until you have three rows of rubber bands. Now take your brush and pull it through the first rubber band and skip the second and then pull it through the third rubber band. With the second brush you’ll want to do the exact opposite, so skip the first rubber band and pull it through the second and then of course skip the third rubber band. Now just keep placing your brushes between the rubber bands, but keep in mind to alternate between the brushes while you’re placing them, that way it gives the brushes a great grip and secure to all stay in place. When you’re done with placing all the brushes then lean the cutting board against the wall with the brushes all upside down and it should look like the picture down below.
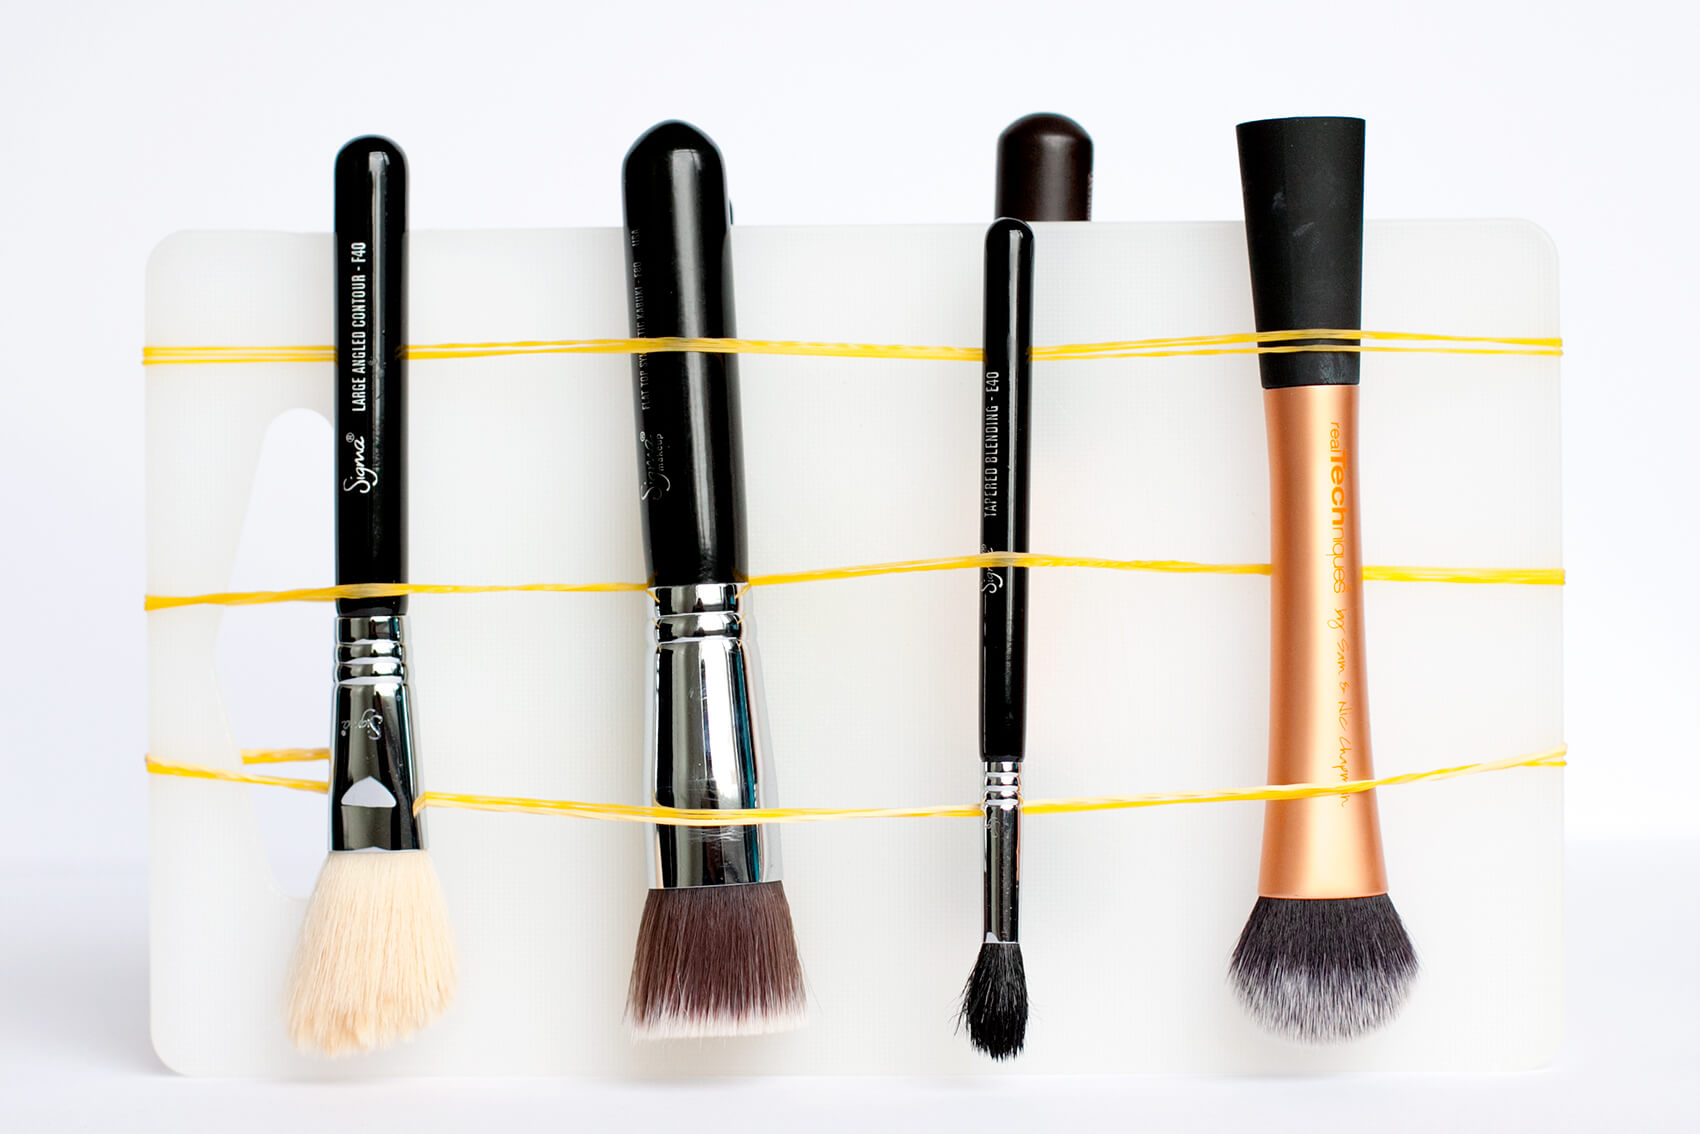
This second option works just as great as the first method when it comes to drying the brushes, but the one downside is the condition of the bristles, they won’t look as great as the one with The Brush Guard.
Now here you have it, two methods for you to choose from to clean your brushes. I always get a great feeling whenever my brushes are all nice and clean, there’s nothing that makes me feel better than starting off the day with clean brushes.
I hope you’ll all like this blog post and that it will motivate you to clean your brushes more often. Once again, thank you all for reading and I shall talk to you soon!
Photos by Marco Law